
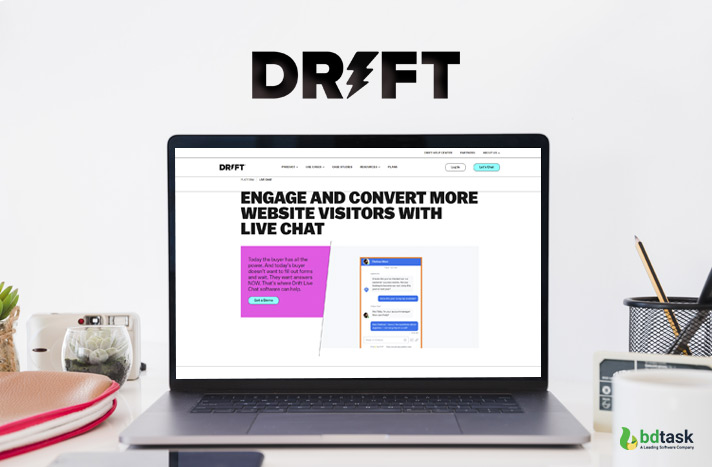
Drift live chat is a great way to boost engagement and provide real-time support on your WordPress website. Luckily, integrating it is a manageable process. Here’s a step-by-step guide on how to get Drift live chat up and running on your WordPress site.
I. Sign Up for a Drift Account
- Visit the Drift Website
- Open your web browser and head to the official Drift website.
- Look for the “Sign Up” button, usually positioned prominently on the homepage, perhaps in the top right corner or in a central area inviting users to create an account.
- Create Your Account Details
- Click on the “Sign Up” button and fill in the necessary information. This includes your email address, a secure password that you can remember, and your company or website name.
- You might also be asked for additional details like the industry your website caters to. Once all fields are filled, click the “Create Account” button to complete the registration process.
- Verify Your Email
- After signing up, check your inbox for an email from Drift. Open it and click on the verification link provided to activate your newly created account.
II. Configure Drift Settings for Your Site
- Log in to Your Drift Dashboard
- Use the credentials you just set up to log in to your Drift account. You’ll land on the main dashboard which has multiple sections and options for customizing your Drift experience.
- Set General Preferences
- Navigate to the settings area where you can set general preferences. Here, you can specify your time zone so that all chat timestamps are accurate for your business operations.
- Also, choose the default language for your chat interactions to match your target audience. For example, if your website mainly serves an English-speaking audience, select English as the language.
- Customize the Chat Widget Appearance
- Find the section dedicated to customizing the live chat widget’s look.
- You can change the color scheme to align with your WordPress website’s branding. If your site has a blue and white color palette, adjust the widget colors to fit in seamlessly.
- Modify the size and position of the widget too. Decide whether you want it fixed at the bottom right corner or floating as visitors scroll through your pages.
- Set Up Automated Messages and Chatbots
- Drift allows you to create automated messages for common scenarios. For instance, when a visitor opens the chat, you can have a welcome message like “Hello! How can we assist you today?” automatically appear.
- Build simple chatbot flows to handle frequently asked questions. This helps engage visitors quickly and provides instant answers without always needing human intervention.

III. Install the Drift WordPress Plugin
- Log in to Your WordPress Dashboard
- Open a new tab in your browser and enter your WordPress website’s admin URL. Log in using your WordPress username and password.
- Once logged in, you’ll be on the WordPress dashboard with various menus on the left side.
- Search for the Drift Plugin
- Navigate to the “Plugins” section and click on “Add New”.
- In the search bar, type “Drift” and hit Enter. The Drift WordPress plugin should appear in the search results.
- Install and Activate the Plugin
- Click on the “Install Now” button next to the Drift plugin. Once the installation is complete, click the “Activate” button to enable the plugin on your WordPress site.
IV. Connect Drift to Your WordPress Site
- Go to the Drift Plugin Settings in WordPress
- On the left sidebar of your WordPress dashboard, find the “Drift” option under the settings or plugins section (it might vary depending on your WordPress setup).
- Click on it to access the Drift plugin settings page.
- Enter Your Drift Account Credentials
- You’ll see fields to input the email address and password you used to sign up for your Drift account.
- Enter the details correctly and click on the “Connect” or similar button to link your WordPress site to your Drift account.
V. Test the Drift Live Chat on Your WordPress Site
- Open Your WordPress Site as a Visitor
- Log out of your WordPress admin account and open your website in a different browser or in an incognito window.
- Navigate through different pages to see if the Drift live chat widget appears as expected.
- Initiate a Chat
- Click on the chat widget to open it and send a test message. Check if you receive the message in your Drift dashboard and if you can respond appropriately.
By following these steps, you can successfully start using Drift live chat on your WordPress website. This will enhance your ability to interact with your visitors in real-time and improve the overall user experience on your site. Regularly review and update your Drift settings based on user feedback to make the most of this valuable tool.


