
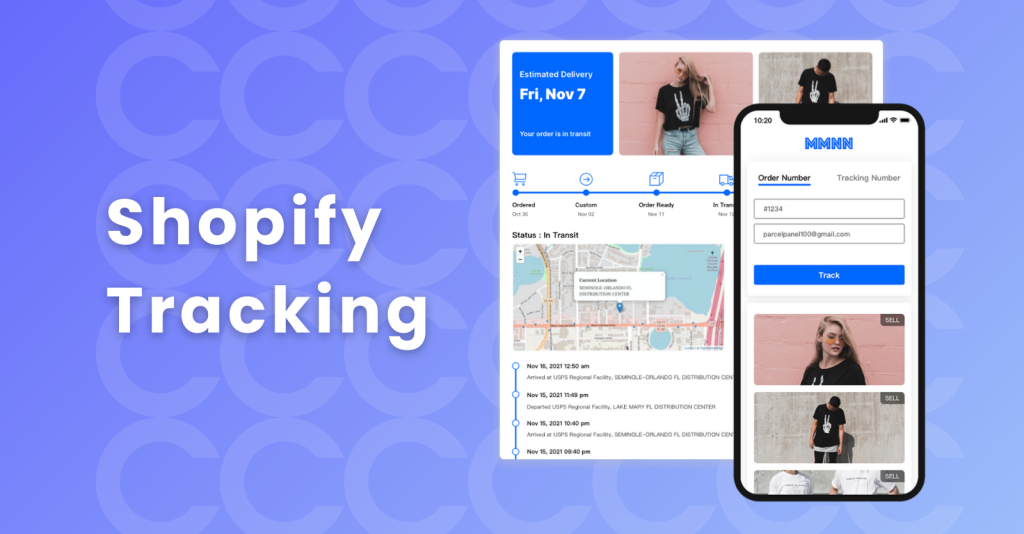
In the world of e – commerce, providing customers with a seamless order tracking experience is crucial. A well – designed order tracking page not only keeps customers informed but also builds trust and loyalty. If you’re a Shopify store owner looking to create an order tracking page, this guide will walk you through the process step by step.
I. Navigating to the Page Creation Section in Shopify
A. Accessing the Shopify Admin
- Logging In
- First, log in to your Shopify admin account. This is the control center of your online store. Enter your credentials, which typically include your email address and password. Make sure you have the appropriate permissions to manage store – related settings.
- Finding the Right Section
- Once logged in, locate the “Online Store” tab. It’s usually prominently displayed in the left – hand sidebar. Click on it to expand the options. From the dropdown menu, select “Pages”. This is where you can manage all the static pages of your Shopify store, including the order tracking page you’re about to create.
B. Adding a New Page
- Creating the “Track Your Order” Page
- In the Pages section, click on the “Add page” button. A new page creation form will appear. In the “Title” field, enter “Track Your Order”. This clear and straightforward title will make it easy for customers to find the page when they want to check the status of their orders.
- Initial Introduction
- Below the title, in the content area, start by introducing how customers can track their orders. You can write something like, “Welcome to our order tracking page. Here, you can easily monitor the progress of your purchase. Simply enter your order number and the email address you used during checkout, and click the ‘Track’ button.” This gives customers a basic understanding of what to expect on the page.
- Showing HTML
- After adding the initial content, click on the “Show HTML” button. This will reveal the underlying HTML code of the page. We’ll need to access this later to insert the tracking code.
II. Obtaining the Tracking Code from Trackdog
A. Visiting Trackdog
- Navigating to the Website
- Open a new browser tab and go to the Trackdog website. Trackdog is a useful tool that provides various options for creating order tracking functionality.
- Exploring Button Styles
- Once on Trackdog, you’ll notice there are 3 different Track Button Styles available. Take a moment to review each style. Consider which one would best match the design and aesthetic of your Shopify store. For example, if your store has a modern and minimalist look, you might choose a simple, clean – lined button style.
- Copying the Embed Code
- After selecting the desired button style, click on it. A code box will appear, containing the Embed Code. This code is what will enable the order tracking functionality on your Shopify page. Carefully copy the code. You can do this by highlighting the code and using the keyboard shortcut Ctrl + C (or Command + C on Mac).
III. Integrating the Code into Your Shopify Page
A. Returning to Shopify Admin
- Pasting the Embed Code
- Go back to the Shopify admin and the “Track Your Order” page you were creating. With the HTML view still open, paste the Embed Code you copied from Trackdog. Make sure to paste it in the appropriate place, usually within the body of the page where you want the tracking functionality to appear. You can use the keyboard shortcut Ctrl + V (or Command + V on Mac) to paste the code.
- Saving the Page
- After pasting the code, double – check that everything looks correct. Then, click the “Save” button. This will save the changes you’ve made to the page, including the integration of the order tracking code.

By following these steps, you can successfully create an order tracking page on your Shopify store. This will enhance the customer experience, as they can now easily track their orders, leading to increased satisfaction and potentially more repeat business. Remember to test the tracking functionality yourself to ensure it’s working smoothly before promoting the page to your customers.


