
Tidio Live Chat is a great tool for enhancing customer communication on your WordPress website. In this article, we’ll walk you through the step-by-step process of adding it to your site. Let’s get started!
I. Sign Up for Tidio Account
- Visit the Tidio Website
- Open your web browser and go to the official Tidio website.
- Look for the “Sign Up” or “Get Started” button on the homepage.
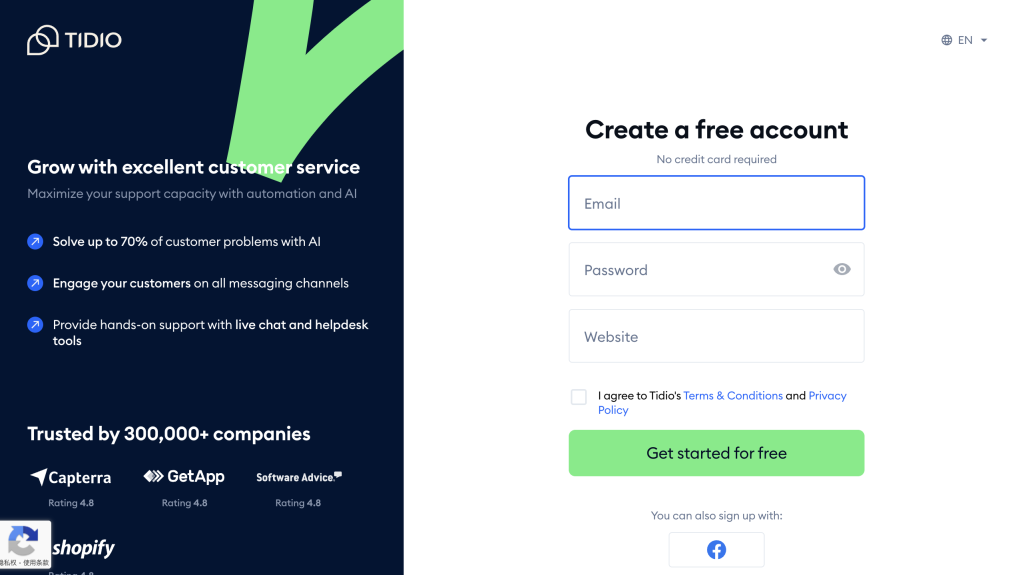
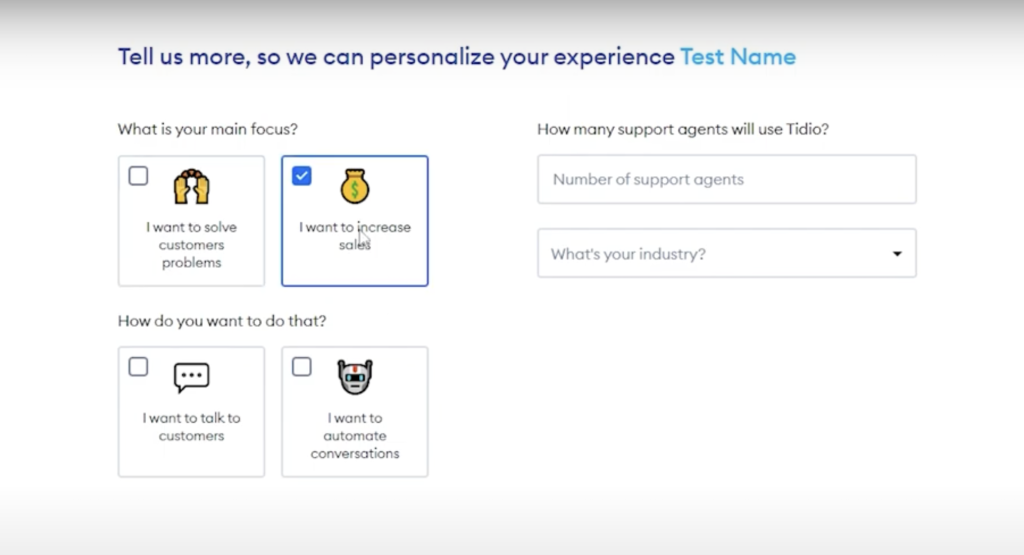
- Create Your Account
- Fill in your basic information like your email address, password, and choose a suitable username.
- Confirm your details and complete the registration process. You may need to verify your email address.
II. Install the Tidio WordPress Plugin
- Log in to Your WordPress Dashboard
- Enter your WordPress website’s admin credentials to access the dashboard.
- Navigate to the “Plugins” section usually found on the left sidebar.
- Search for the Tidio Plugin
- In the “Plugins” area, click on the “Add New” button.
- Use the search bar and type in “Tidio Live Chat”.
- Install and Activate the Plugin
- Once you find the Tidio plugin in the search results, click on the “Install Now” button next to it.
- After installation is complete, click on the “Activate” button to enable the plugin on your WordPress site.
III. Connect Your Tidio Account to WordPress
- Go to Tidio Settings in WordPress
- On the left sidebar of your WordPress dashboard, find the “Tidio” option under the settings or plugins section (it might vary slightly depending on your setup).
- Click on it to open the Tidio settings page.
- Enter Your Tidio Credentials
- You’ll see fields to enter the email address and password you used to sign up for your Tidio account.
- Input the details correctly and click on the “Connect” or “Login” button.
- Verify the Connection
- Wait for a moment as the system tries to connect your WordPress site to your Tidio account.
- If successful, you’ll see a confirmation message indicating that the connection has been established.
IV. Customize the Tidio Live Chat Widget
- Access the Widget Customization Options
- In the Tidio settings within WordPress or through your Tidio account dashboard (you can access it via a link provided), look for the “Widget” or “Appearance” section.
- Click on it to start customizing the chat widget’s look.
- Change the Appearance
- You can modify aspects like the color scheme to match your website’s branding.
- Adjust the position of the chat widget on the page (e.g., bottom right corner or floating).
- Set Up Pre-Chat and Post-Chat Forms
- Customize the pre-chat form to ask visitors relevant questions before starting a chat (like their name or email).
- Design the post-chat form to collect feedback or offer additional resources after the chat ends.
V. Test the Tidio Live Chat
- Open Your Website as a Visitor
- Log out of your WordPress admin account and open your website in a new browser tab or window.
- Navigate through different pages to see if the Tidio Live Chat widget appears as expected.
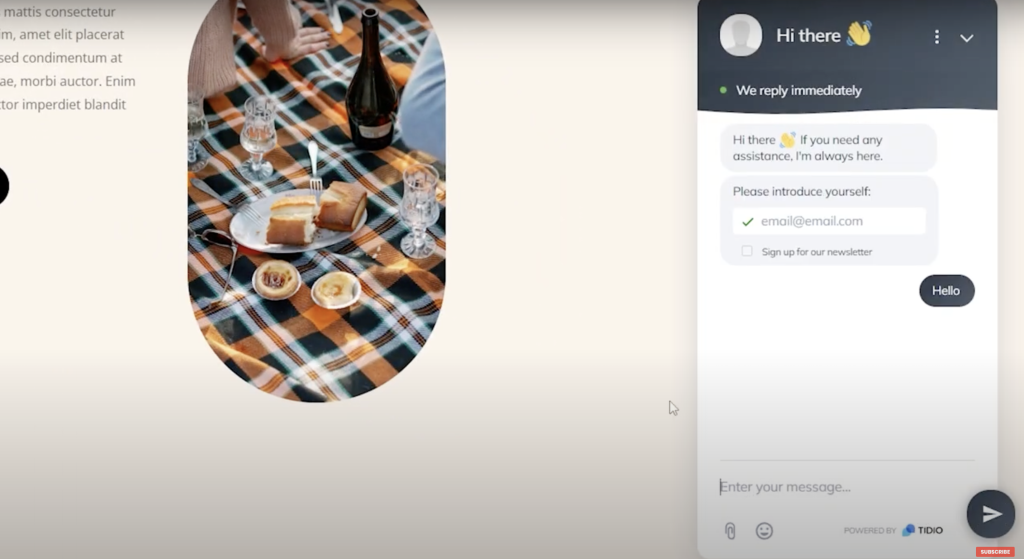
- Initiate a Chat
- Click on the chat widget to open it and try sending a test message.
- Check if you receive the message in your Tidio dashboard and if the response functionality works properly.
By following these steps, you can successfully add and customize Tidio Live Chat to your WordPress website. This will help you improve customer interaction and provide better support. Regularly check and update the settings as per your evolving business needs to make the most of this live chat solution.


