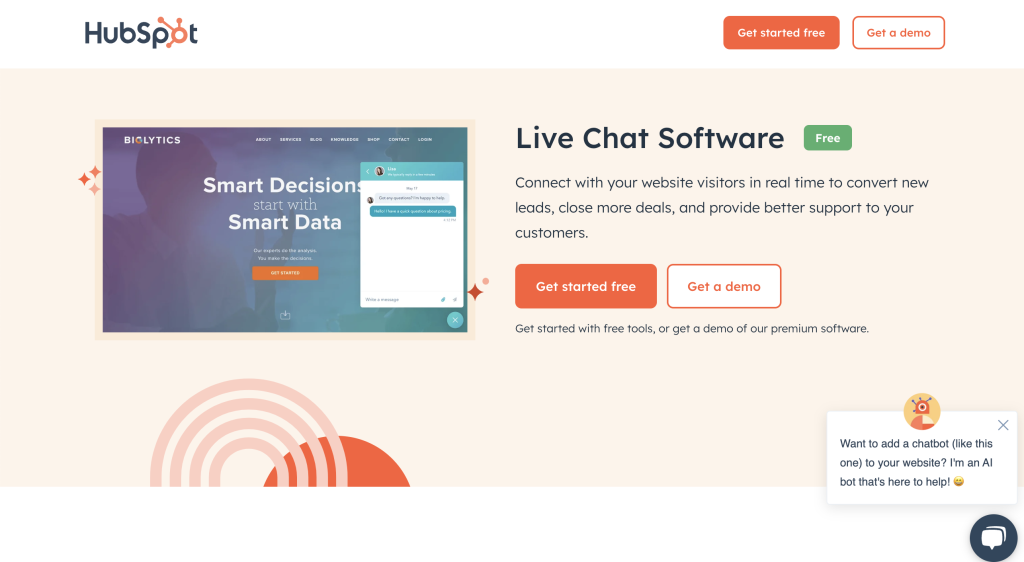
Hubspot is a well-known platform that offers a range of powerful marketing and customer service tools. Its live chat feature can be a great addition to your website, allowing you to engage with visitors in real-time. And the good news is, you can add it for free! Here’s how you can do it step by step.

I. Sign Up for a Hubspot Account
- Visit the Hubspot Website
- Open your web browser and go to the official Hubspot website.
- On the homepage, look for the “Sign Up” button. It’s usually easy to spot, often located in the top right corner or in a prominent section inviting you to start using their services.
- Create Your Account
- Click on the “Sign Up” button and you’ll be presented with a form to fill in your details. Provide your email address, choose a password, and enter some basic information about your business or website.
- You may also need to verify your email address. Check your inbox for the verification email from Hubspot and click on the link provided to complete the sign-up process.
II. Navigate to the Live Chat Feature
- Log in to Your Hubspot Dashboard
- Once you’ve successfully signed up, log in to your Hubspot account using the credentials you just created.
- You’ll be greeted by the main dashboard, which has various sections and options for different Hubspot tools.
- Find the Hubspot Live Chat Section
- Look for the “Conversations” or “Live Chat” option in the sidebar menu. The exact naming might vary slightly depending on updates to the platform, but it should be related to communication or conversations.
- Click on it to enter the live chat setup area where you can start configuring the feature for your website.
III. Configure the Live Chat Settings
- Chat Widget Customization
- In the live chat settings, you’ll first find options to customize the appearance of the chat widget.
- You can change the color scheme to match your website’s branding. For example, if your website has a blue and white theme, you can select colors that blend in well.
- Adjust the size and position of the widget as well. Decide whether you want it to be fixed at the bottom right corner or float on the page, depending on what looks best and is most accessible for visitors.
- Pre-Chat and Post-Chat Forms
- Set up pre-chat forms to gather useful information from visitors before they start chatting. You might ask for their name, email address, and a brief description of what they’d like to talk about.
- Configure post-chat forms too. These can be used to collect feedback on the chat experience or offer additional resources based on the conversation that just took place.
- Automated Responses
- Hubspot allows you to create automated responses for common questions or greetings.
- For instance, when a visitor opens the chat, you can have an automatic welcome message like “Hello! How can I assist you today?” set up. You can also program responses for frequently asked questions to save time and provide quick answers.

IV. Get the Installation Code
- Generate the Code Snippet
- After configuring the live chat settings to your liking, look for the option to generate the installation code.
- This is usually a simple process where you click on a button like “Get Code” or “Generate Installation Snippet”.
- Copy the Code
- The code will be presented to you, typically as a JavaScript snippet. Copy this code carefully as you’ll need it to embed the live chat on your website.
V. Install the Live Chat on Your Website
- Access Your Website’s Backend
- Log in to your website’s content management system (CMS). If it’s WordPress, enter your admin credentials and go to the dashboard. For other platforms like Shopify or Wix, access the relevant area for editing code or adding custom elements.
- Find the appropriate place to insert the code. In WordPress, it could be in the header or footer section under the appearance menu, depending on where you want the chat widget to appear.
- Paste the Code
- Paste the copied Hubspot live chat code into the selected area. Save the changes you’ve made to your website’s code.
VI. Test the Live Chat
- Open Your Website as a Visitor
- Log out of your website’s admin account and open your website in a different browser or in an incognito window.
- Navigate through different pages to check if the Hubspot live chat widget appears correctly and functions as expected.
- Initiate a Chat
- Click on the chat widget to open it and send a test message. Check if you receive the message in your Hubspot dashboard and if you can respond appropriately.

Adding Hubspot live chat to your website for free is a straightforward process that can bring many benefits in terms of engaging with your visitors. By following these steps, you can enhance your website’s customer service and communication capabilities. Regularly review and update the chat settings based on user feedback to make the most of this valuable tool.


